"Lock-Down" Project - 1890's Waltham Pocket Watch (Part 5)
- by Darren Thomson
- •
- 24 May, 2020
- •
Part 5 - Installing the Gear Train
For me, this is the most interesting part of the build, certainly from a mechanical perspective. This is where we get to see how the power delivered from the mainspring travels through a train of wheels to deliver suitable energy to the balance.
Here are the components at play for this stage..
Here are the components at play for this stage..

Above, we see the "Escape Wheel" in the low-centre, the "3rd Wheel" on the left (this will be positioned next to the "Centre Wheel" which, in this case is already installed into the main bridge (see part 4), the "4th Wheel" on the right (this will hold the watches "seconds" hand) and the train bridge at the top which will hold everything in place.
First thing to install (because it sits below everything else), is the Escape Wheel..
First thing to install (because it sits below everything else), is the Escape Wheel..
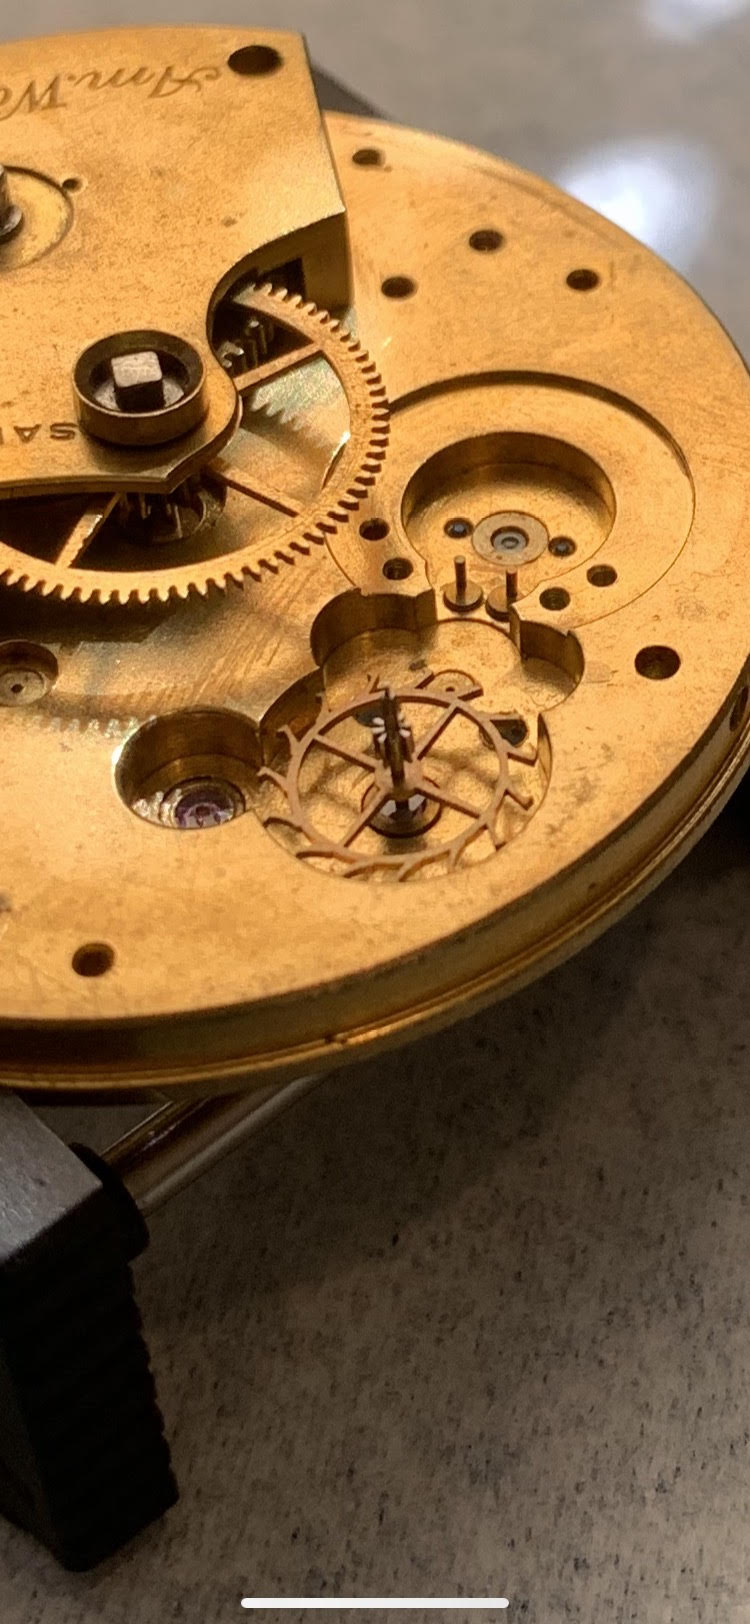
In this shot, I still have the main bridge and Centre Wheel in place, they are going to have to come off in order to get the rest of the train in place..
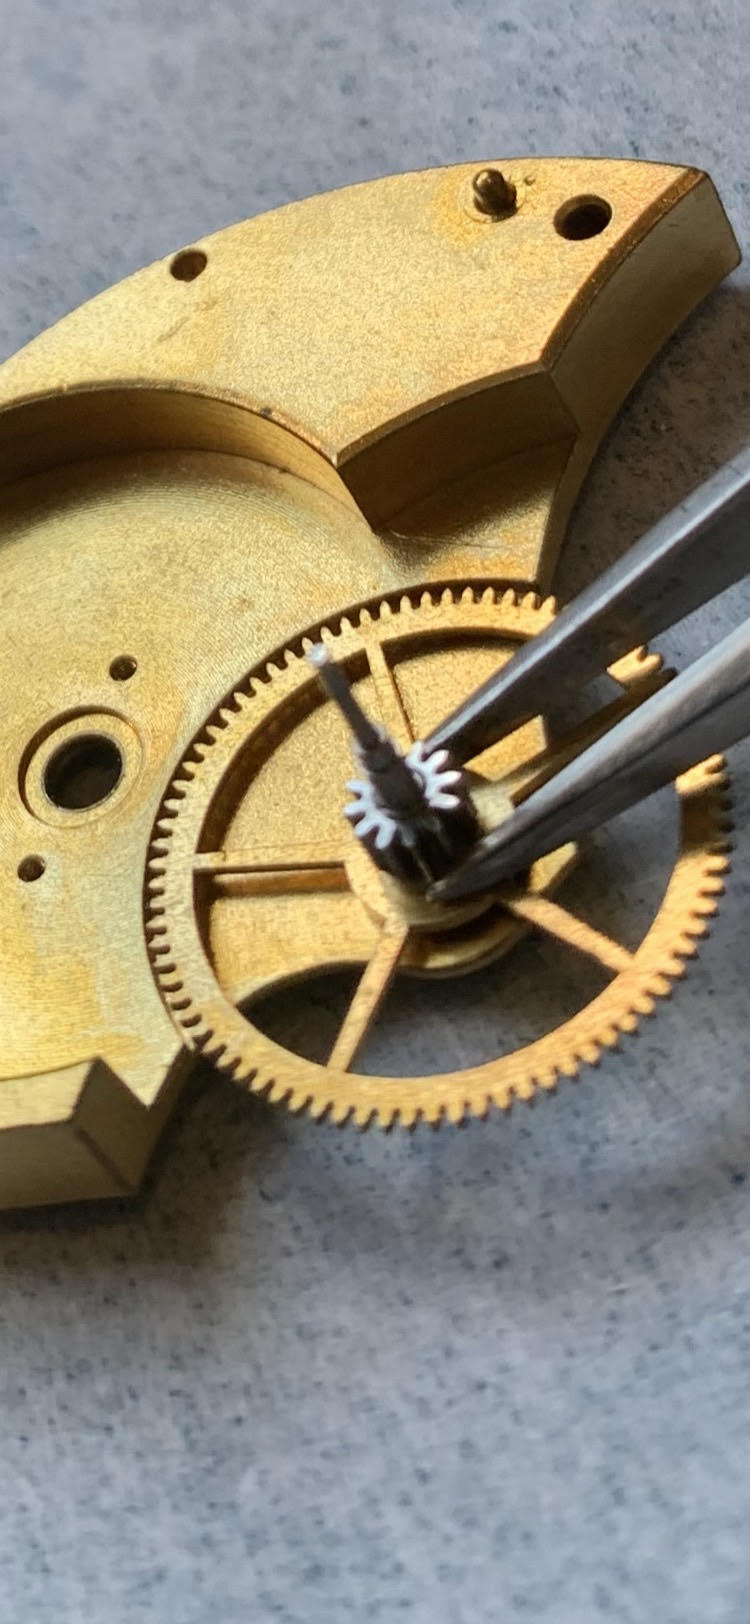
On goes the 4th Wheel.. If you could see the other side of the movement here, you would notice that this wheel has an extended pinion which comes through the dial of the watch to hold the "sub-seconds" hand...
On goes the 4th Wheel.. If you could see the other side of the movement here, you would notice that this wheel has an extended pinion which comes through the dial of the watch to hold the "sub-seconds" hand...
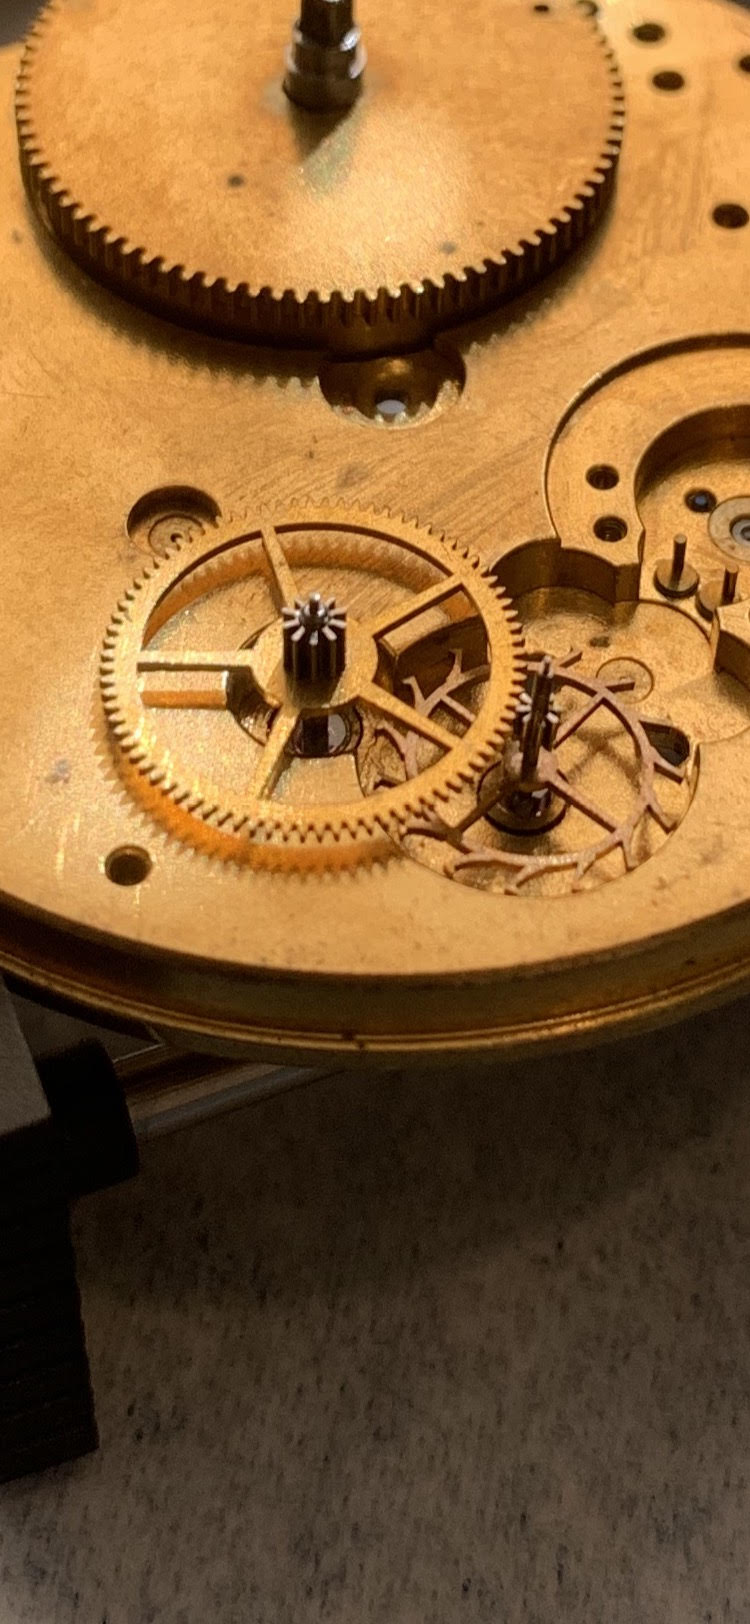
Next comes the 3rd Wheel which will interact with the Centre Wheel..
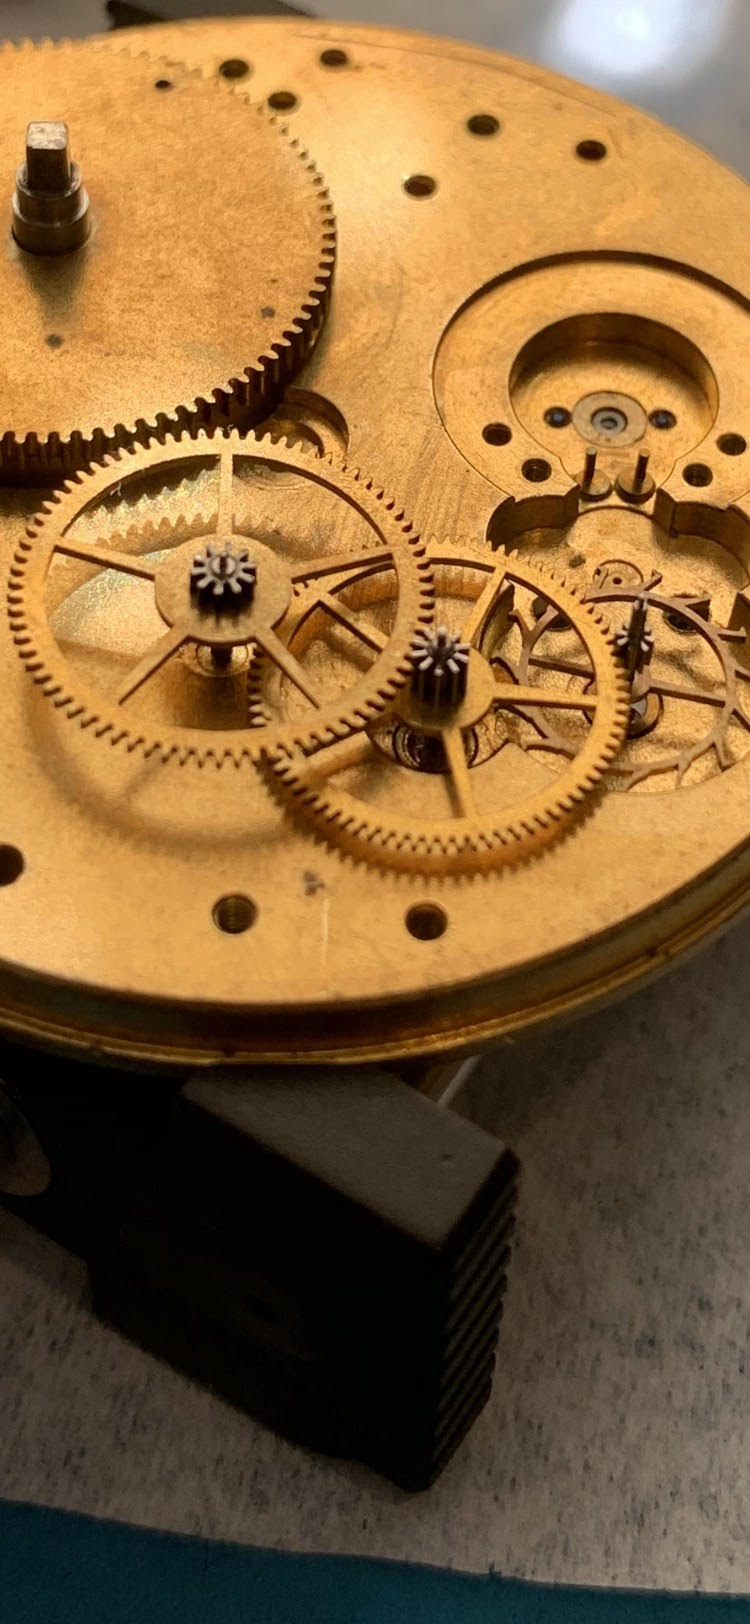
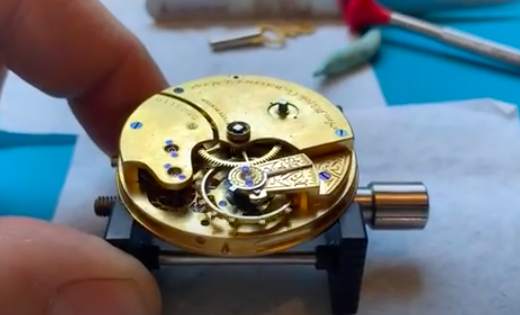
..and now we can re-install the main bridge and the Centre Wheel to complete the train of wheels..
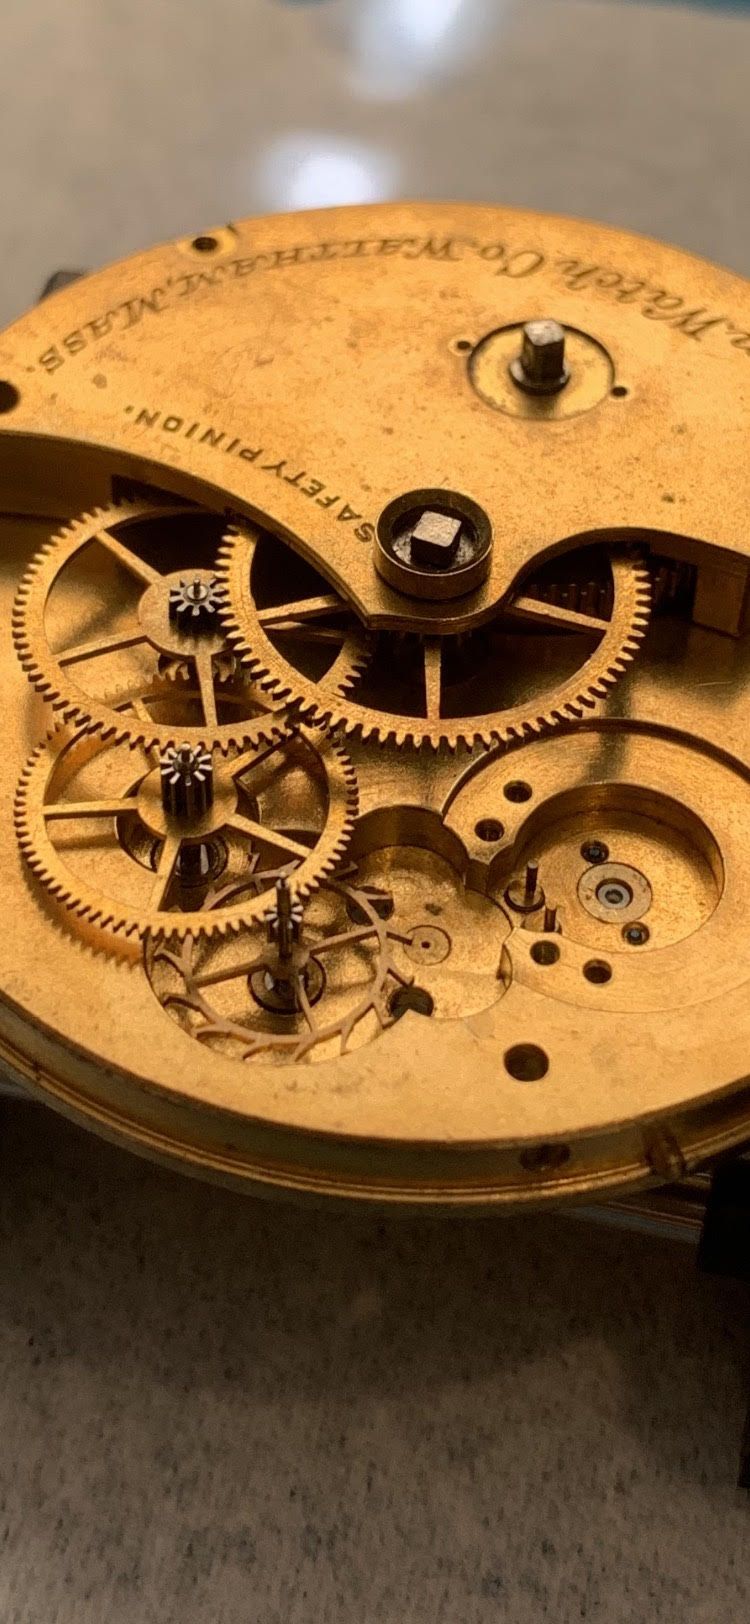
Beautiful, eh ? The square shaped bolt that you see above roughly in the centre of the shot is where a key will be inserted later to adjust the time on the watch.. The one above it is where the same key will be used to wind the watch up (no "keyless works", remember?). I must get around to finding a key..
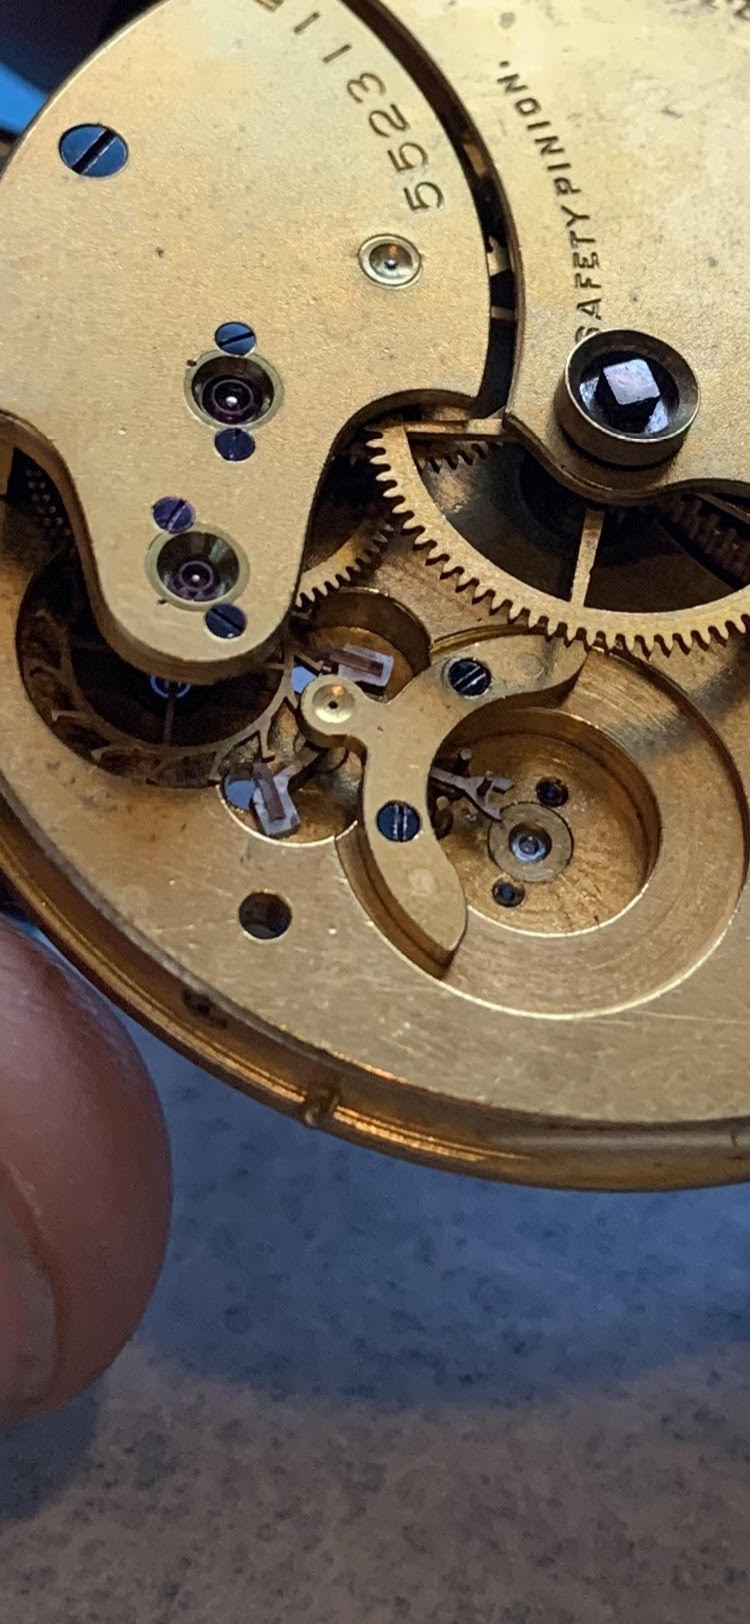
Just a quick note on quality again.. Take a look at this screw..
Just a quick note on quality again.. Take a look at this screw..
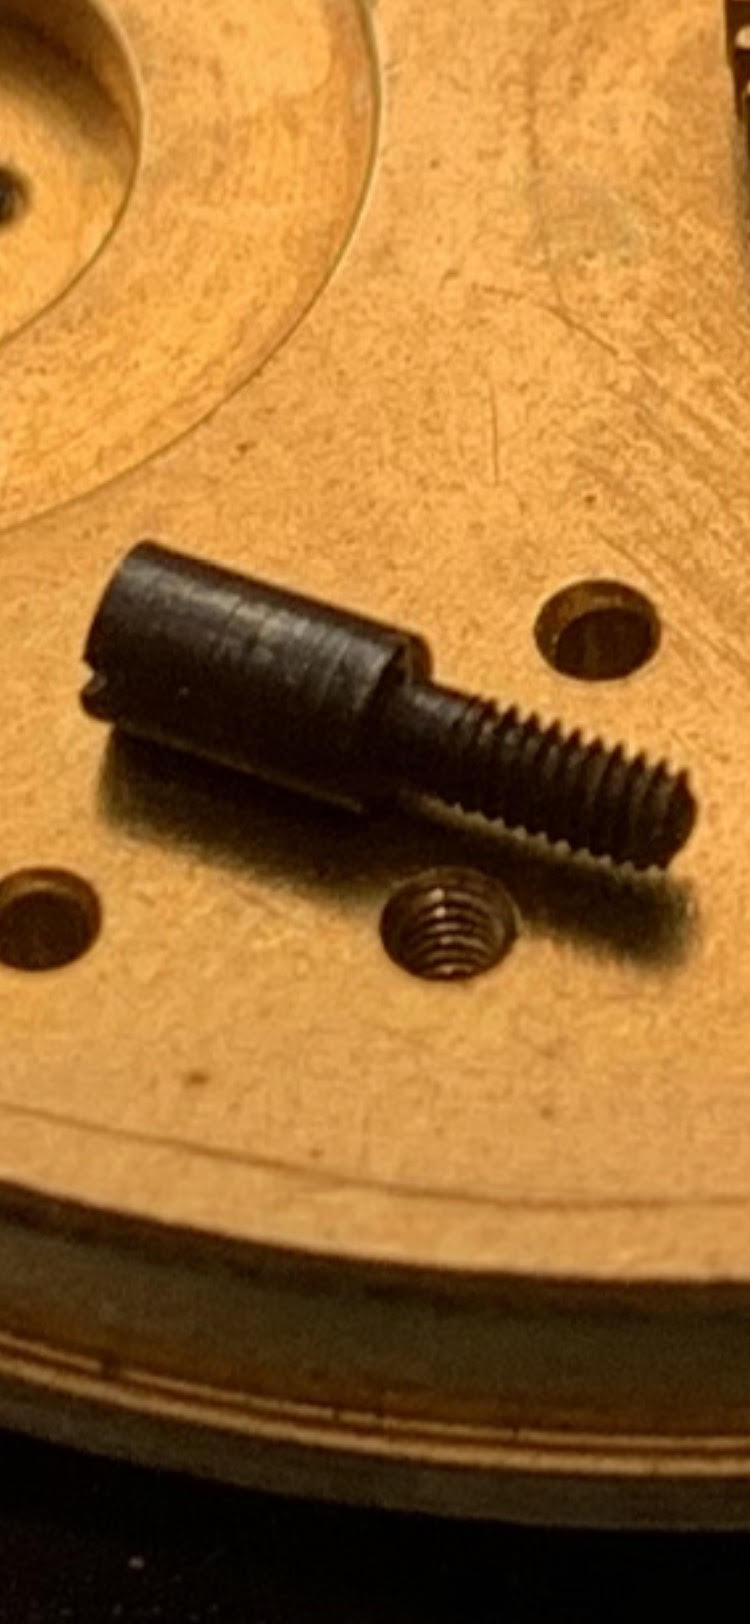
A couple of things to note here. Firstly, this screw (and all screws in this movement) are "blued". That does mean that they have been painted blue, it means that they have been "blued" with a flame. This practice is purely for aesthetics and the blueing of screws is a challenging process (too much flame, it goes black, too little and you don't get the correct colour). Secondly, these screws are over-engineered, they didn't need to be this big, the watchmaker wanted longevity. All of this, in a simple component like a screw, screams high quality... They don't make 'em like this anymore.
Ok, let's get the bridges on, screw them down and test this gear train out..
Ok, let's get the bridges on, screw them down and test this gear train out..
Very satisfying.. Locating the various gear pivots into the appropriate jewels is always challenging but this went pretty well. The process is much easier on a pocket watch due to its relative size in comparison to a wrist watch.
Onwards...
Onwards...

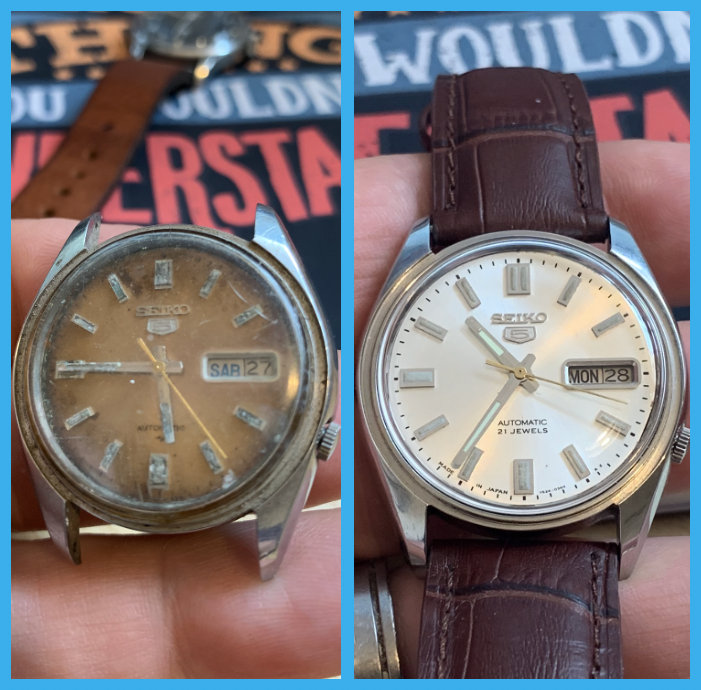
As can be seen here, this old watch's case has seen better days. On the upside, it is made of solid Sterling silver and experience tells me that I might be surprised at how nice I can get this looking with a little time on the polishing machine.
... And, sure enough, 20 minutes of careful polishing accomplished this..
... And, sure enough, 20 minutes of careful polishing accomplished this..
After some serious rooting about in my various parts drawers.. I found a bag..
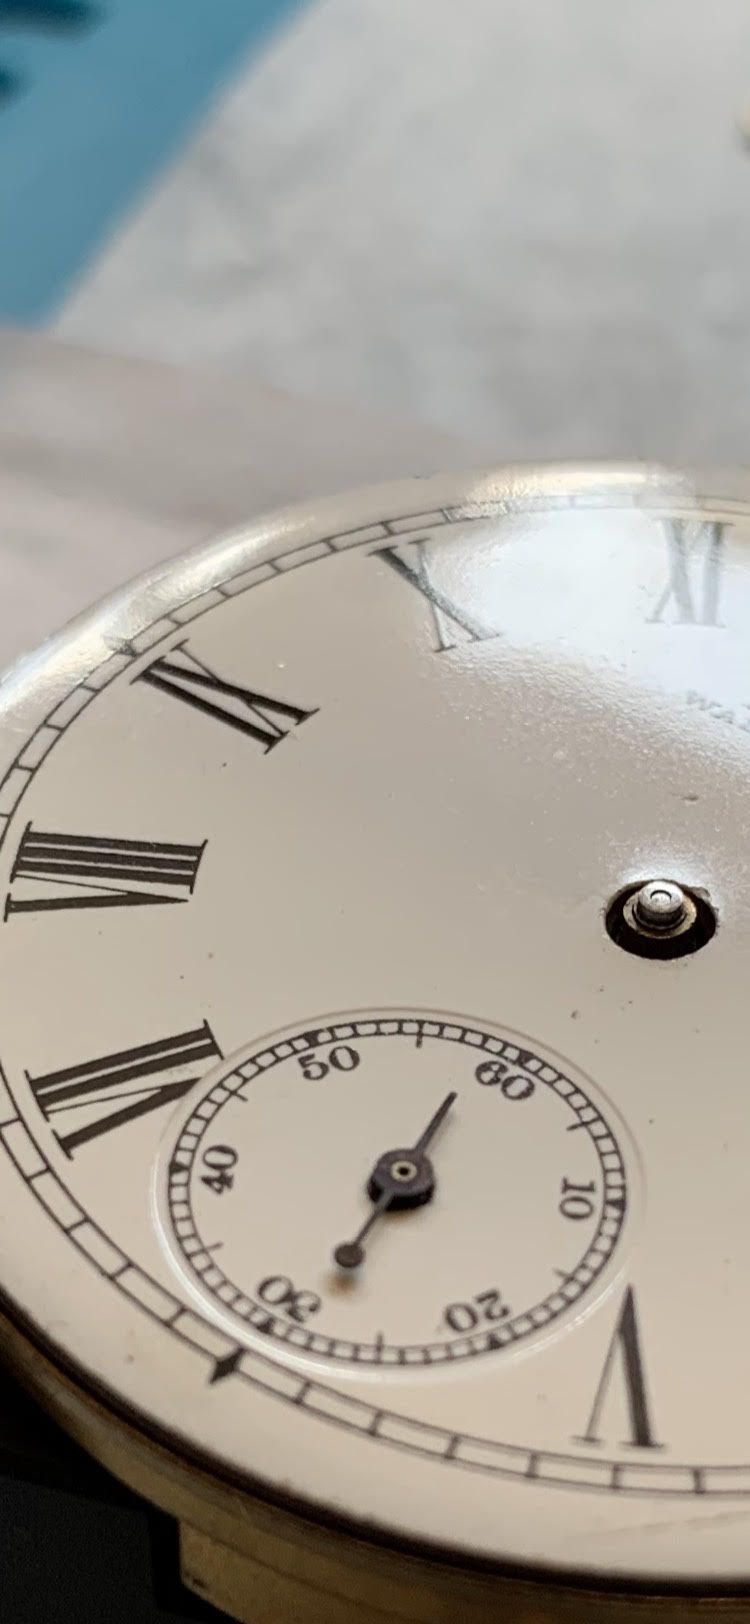
We are almost ready to put the dial and hands onto the pocket watch but before that can happen we need to clean the dial and install the "Motion Works".
Examining the back of the dial reminds us, once again, of the general quality of components used here.
Examining the back of the dial reminds us, once again, of the general quality of components used here.
All of the major functioning parts of this pocket watch's movement are now in place and functional. It's time to see if the old girl has life in her. The project pretty much ends here if there is a major issue with the balance or the mainspring (still un-inspected internally for reasons stated back in part 3). There is almost no chance of finding replacement parts for this piece so it could get consigned back to the spares drawer if this doesn't go well..
A careful wind of the mainspring (feels solid and free-moving - click is working well). And....
A careful wind of the mainspring (feels solid and free-moving - click is working well). And....
With the train of wheels now installed and working, we can turn our attention to the Pallet Fork and its bridge and screws. Here they are..
With the barrel and winding system now in place, we would normally secure them with a bridge. In this case, though, it looks like the main bridge has to go on after the rest of the gear train is assembled. So, for now will just make sure that the centre wheel is properly secured into the bridge and test fit the whole thing.
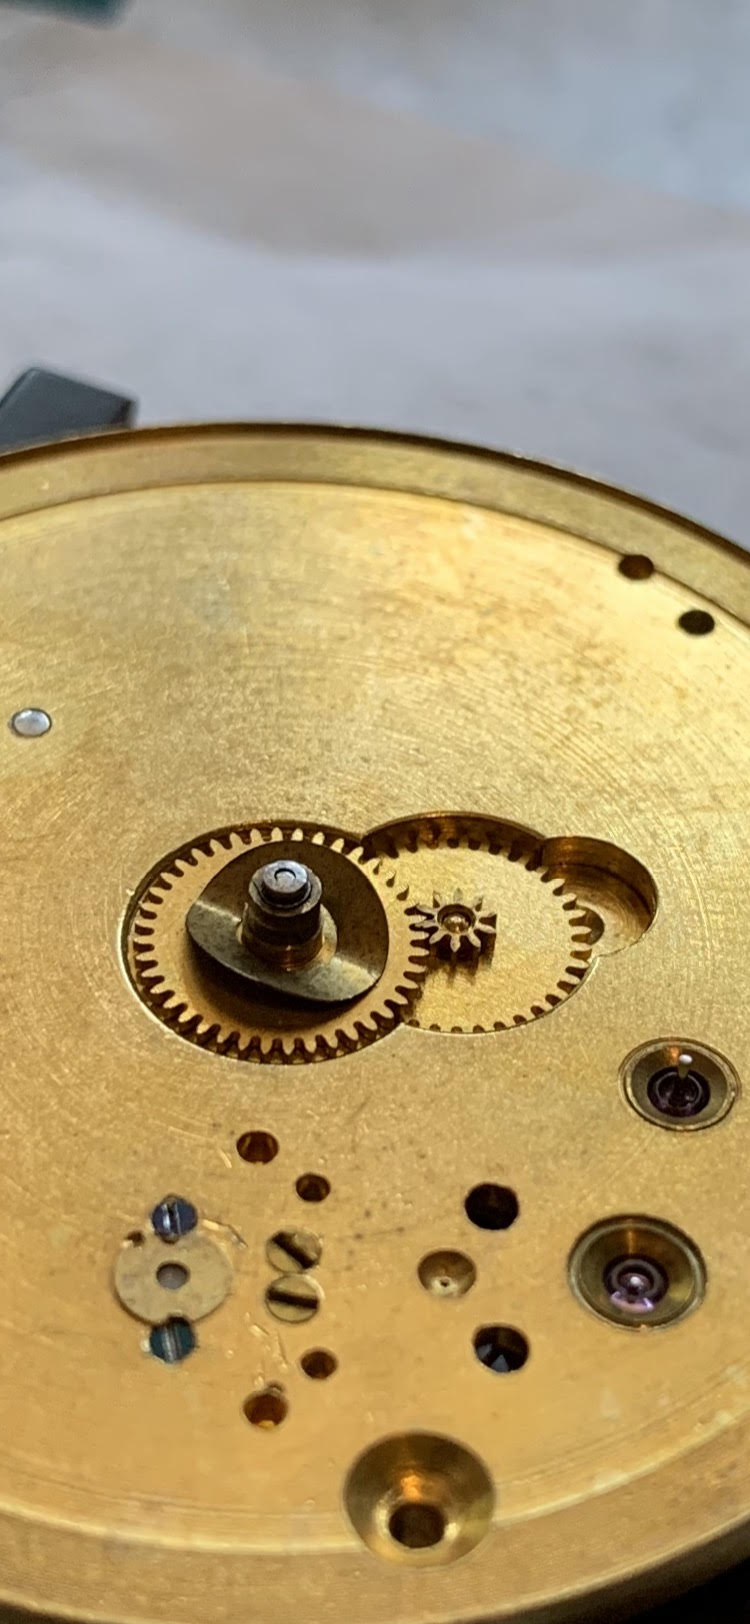
Having inspected the main bridge and centre wheel.. I've found out where that little pinion gear referenced in part 3 lives..
Having inspected the main bridge and centre wheel.. I've found out where that little pinion gear referenced in part 3 lives..
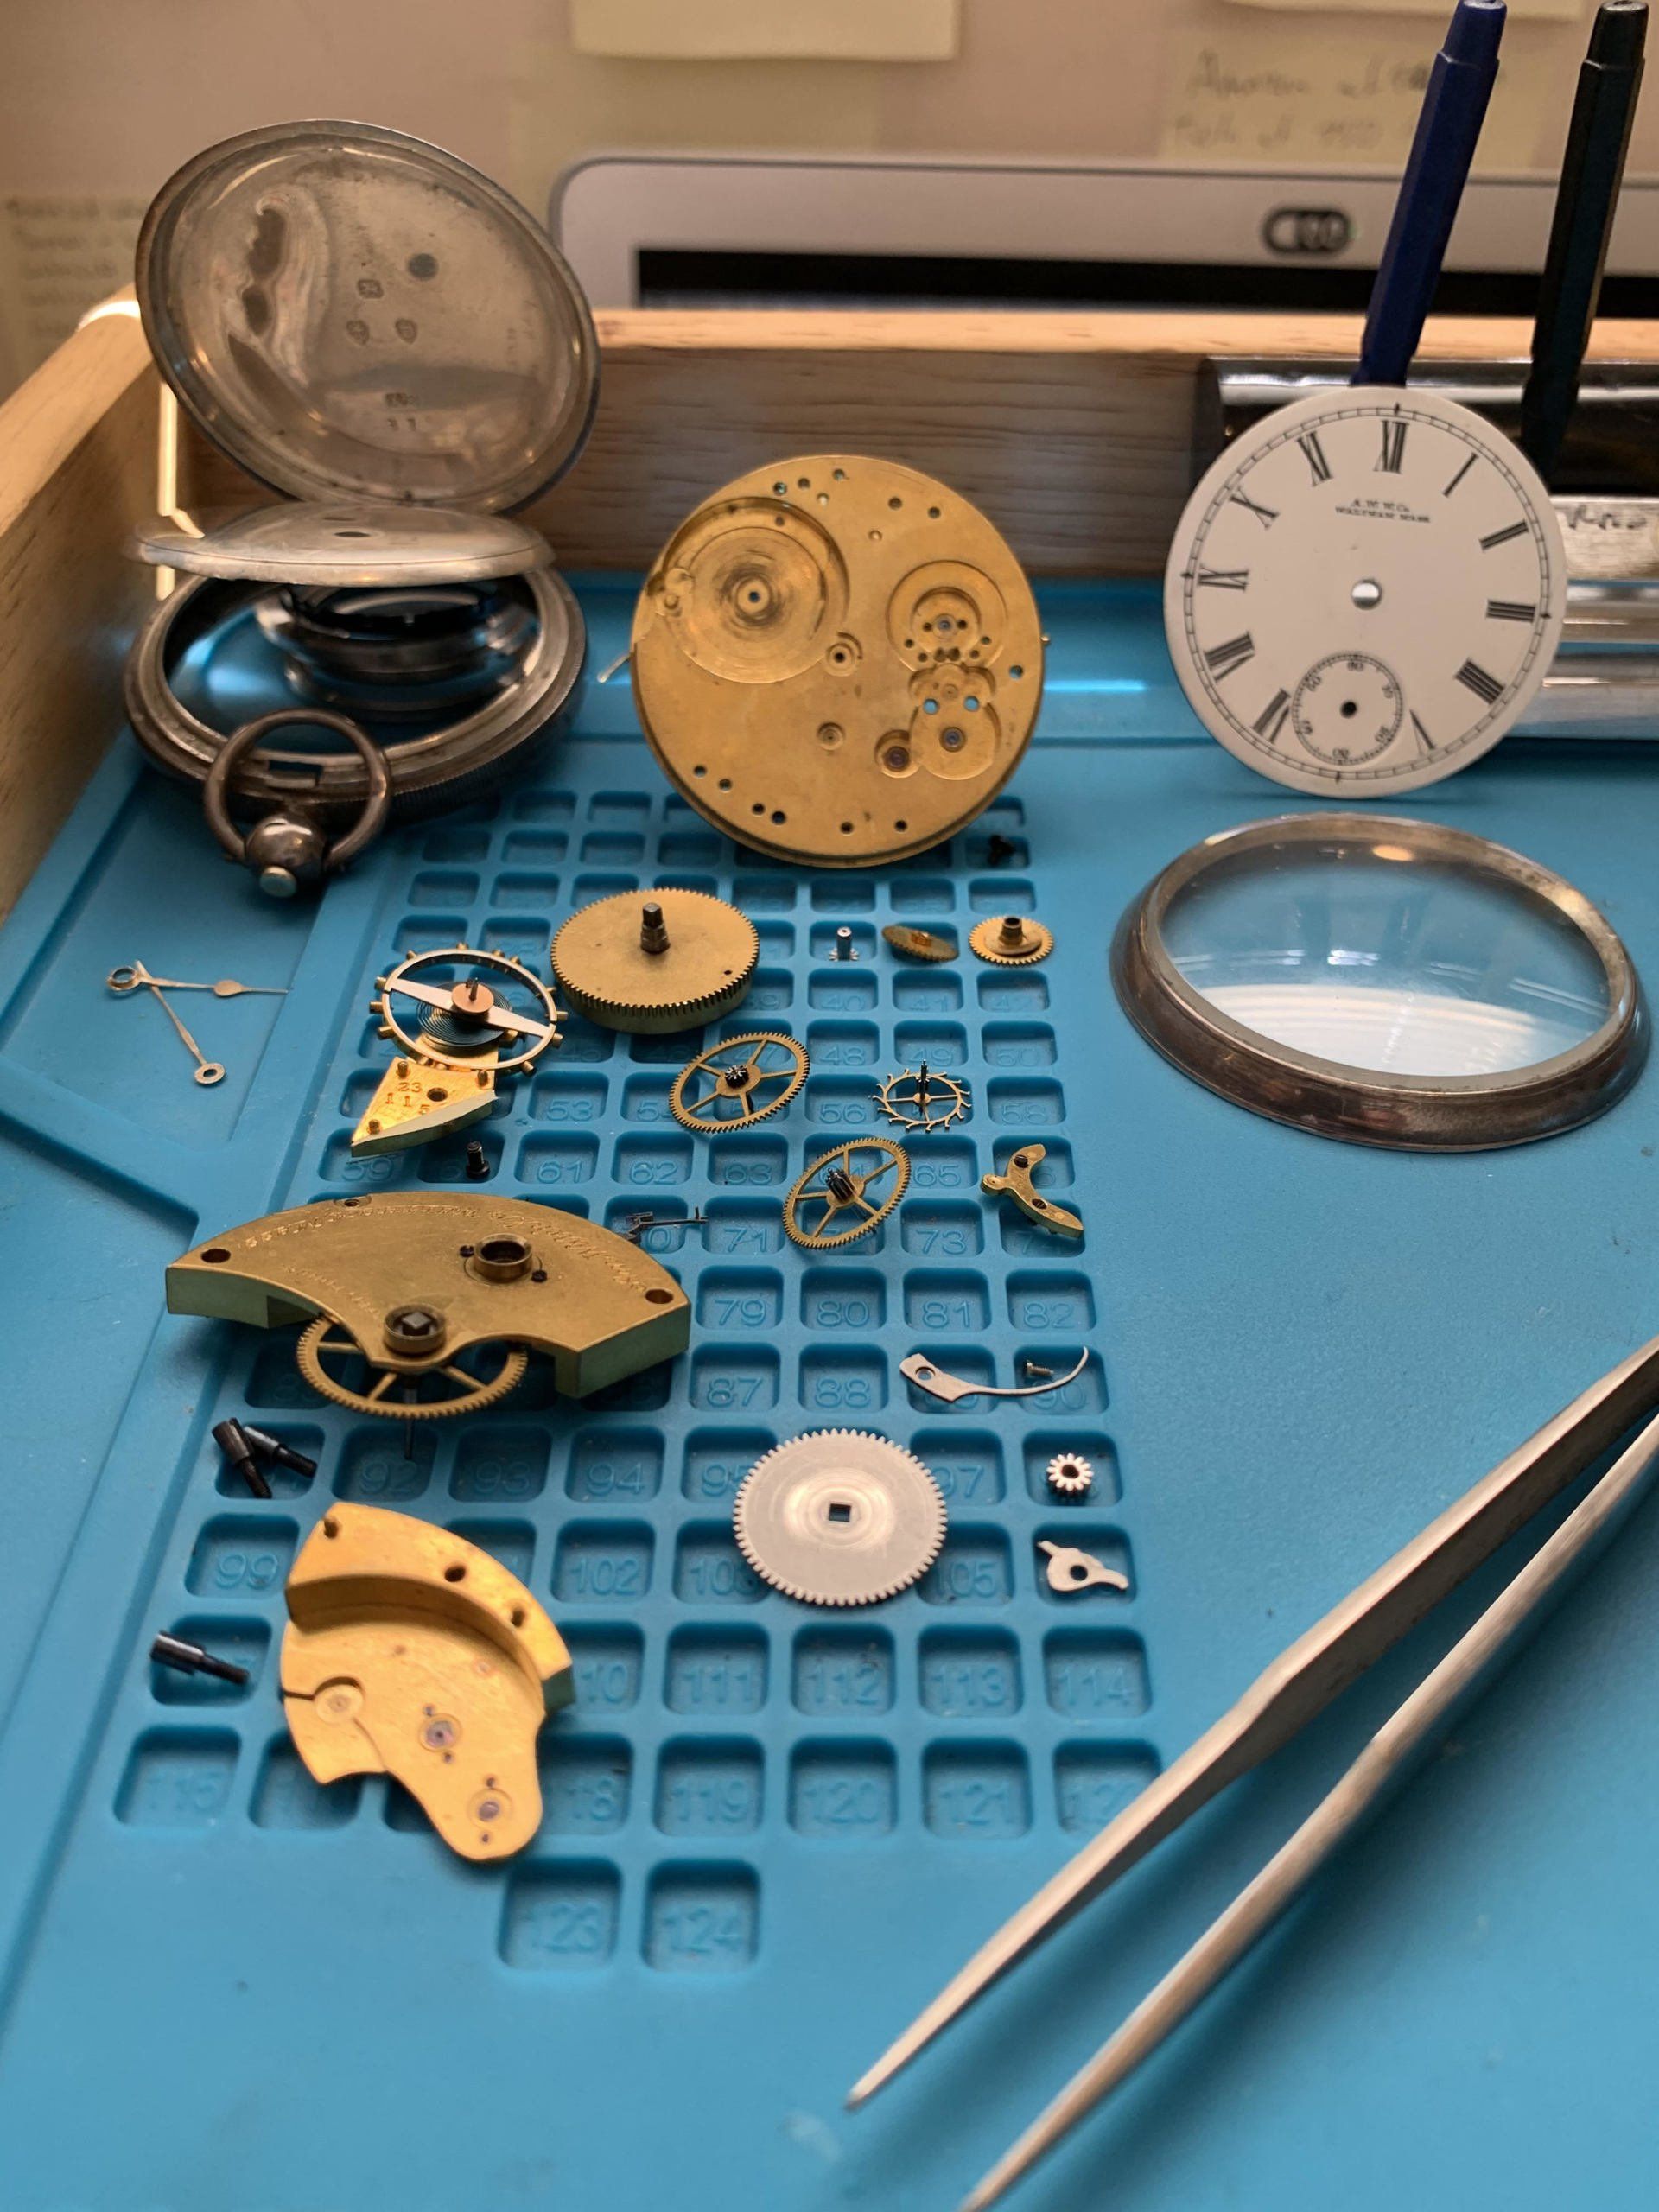
Now that we have everything clean and checked over, its time to starting putting the 130 year-old movement back together again. Honestly, anything could happen here and, on a job like this one, I won't even bother to start thinking about the watches' case, dial and so on until I know that I can get the movement ticking again. The good news is, it wont take long. An old pocket watch like this is quite a simple mechanism in comparison to modern wrist watches. For one thing, we have less parts to worry about (no calendar, no "keyless works", no automatic winding mechanism...).
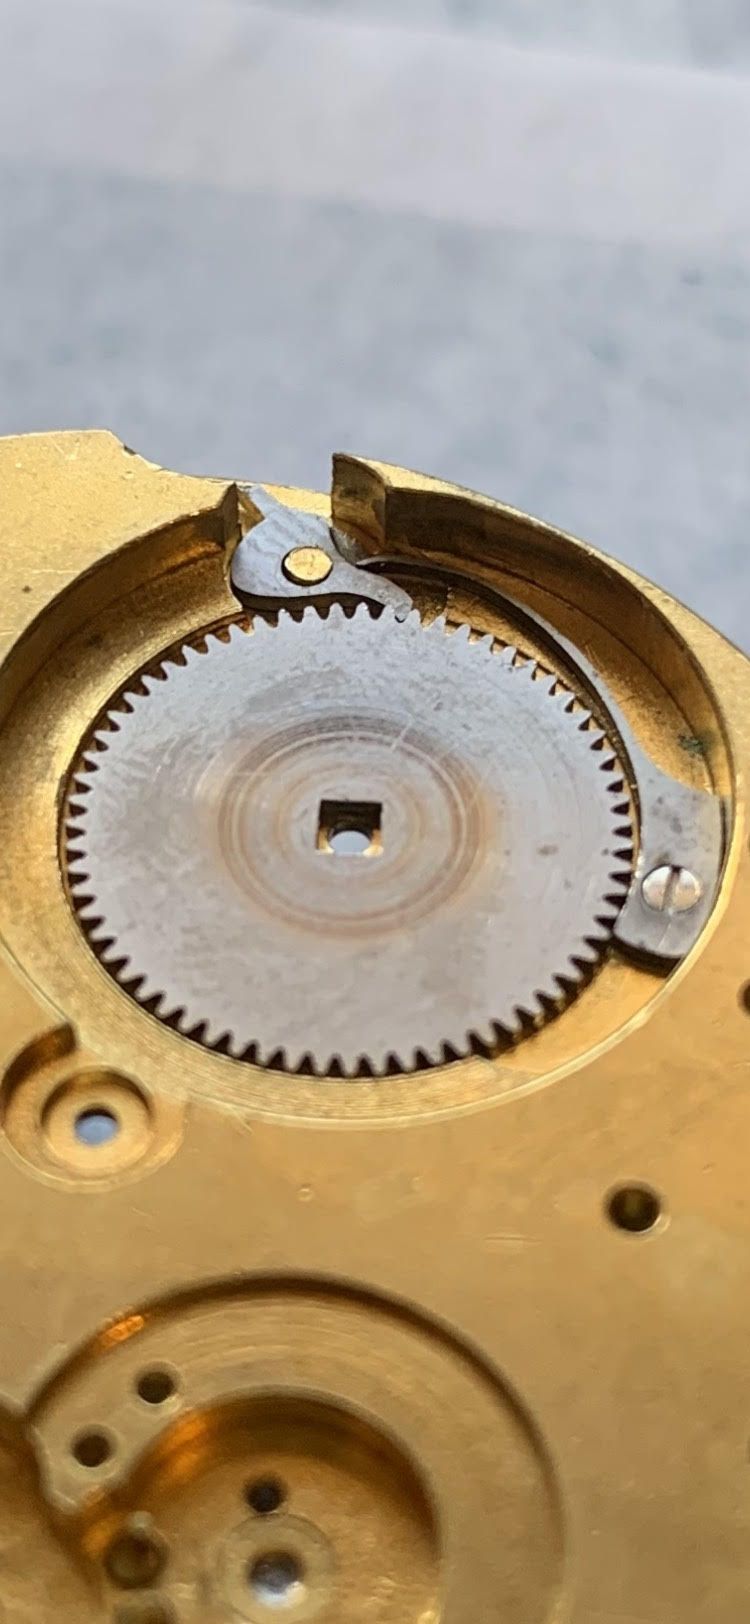
We'll start, as with most watches, with the barrel which houses the mainspring and the associated "click" mechanism (the ratchet that stops the barrel and mainspring from un-winding under tension and the thing that you hear when you wind a watch). Here are the components for this part of the build..
We'll start, as with most watches, with the barrel which houses the mainspring and the associated "click" mechanism (the ratchet that stops the barrel and mainspring from un-winding under tension and the thing that you hear when you wind a watch). Here are the components for this part of the build..
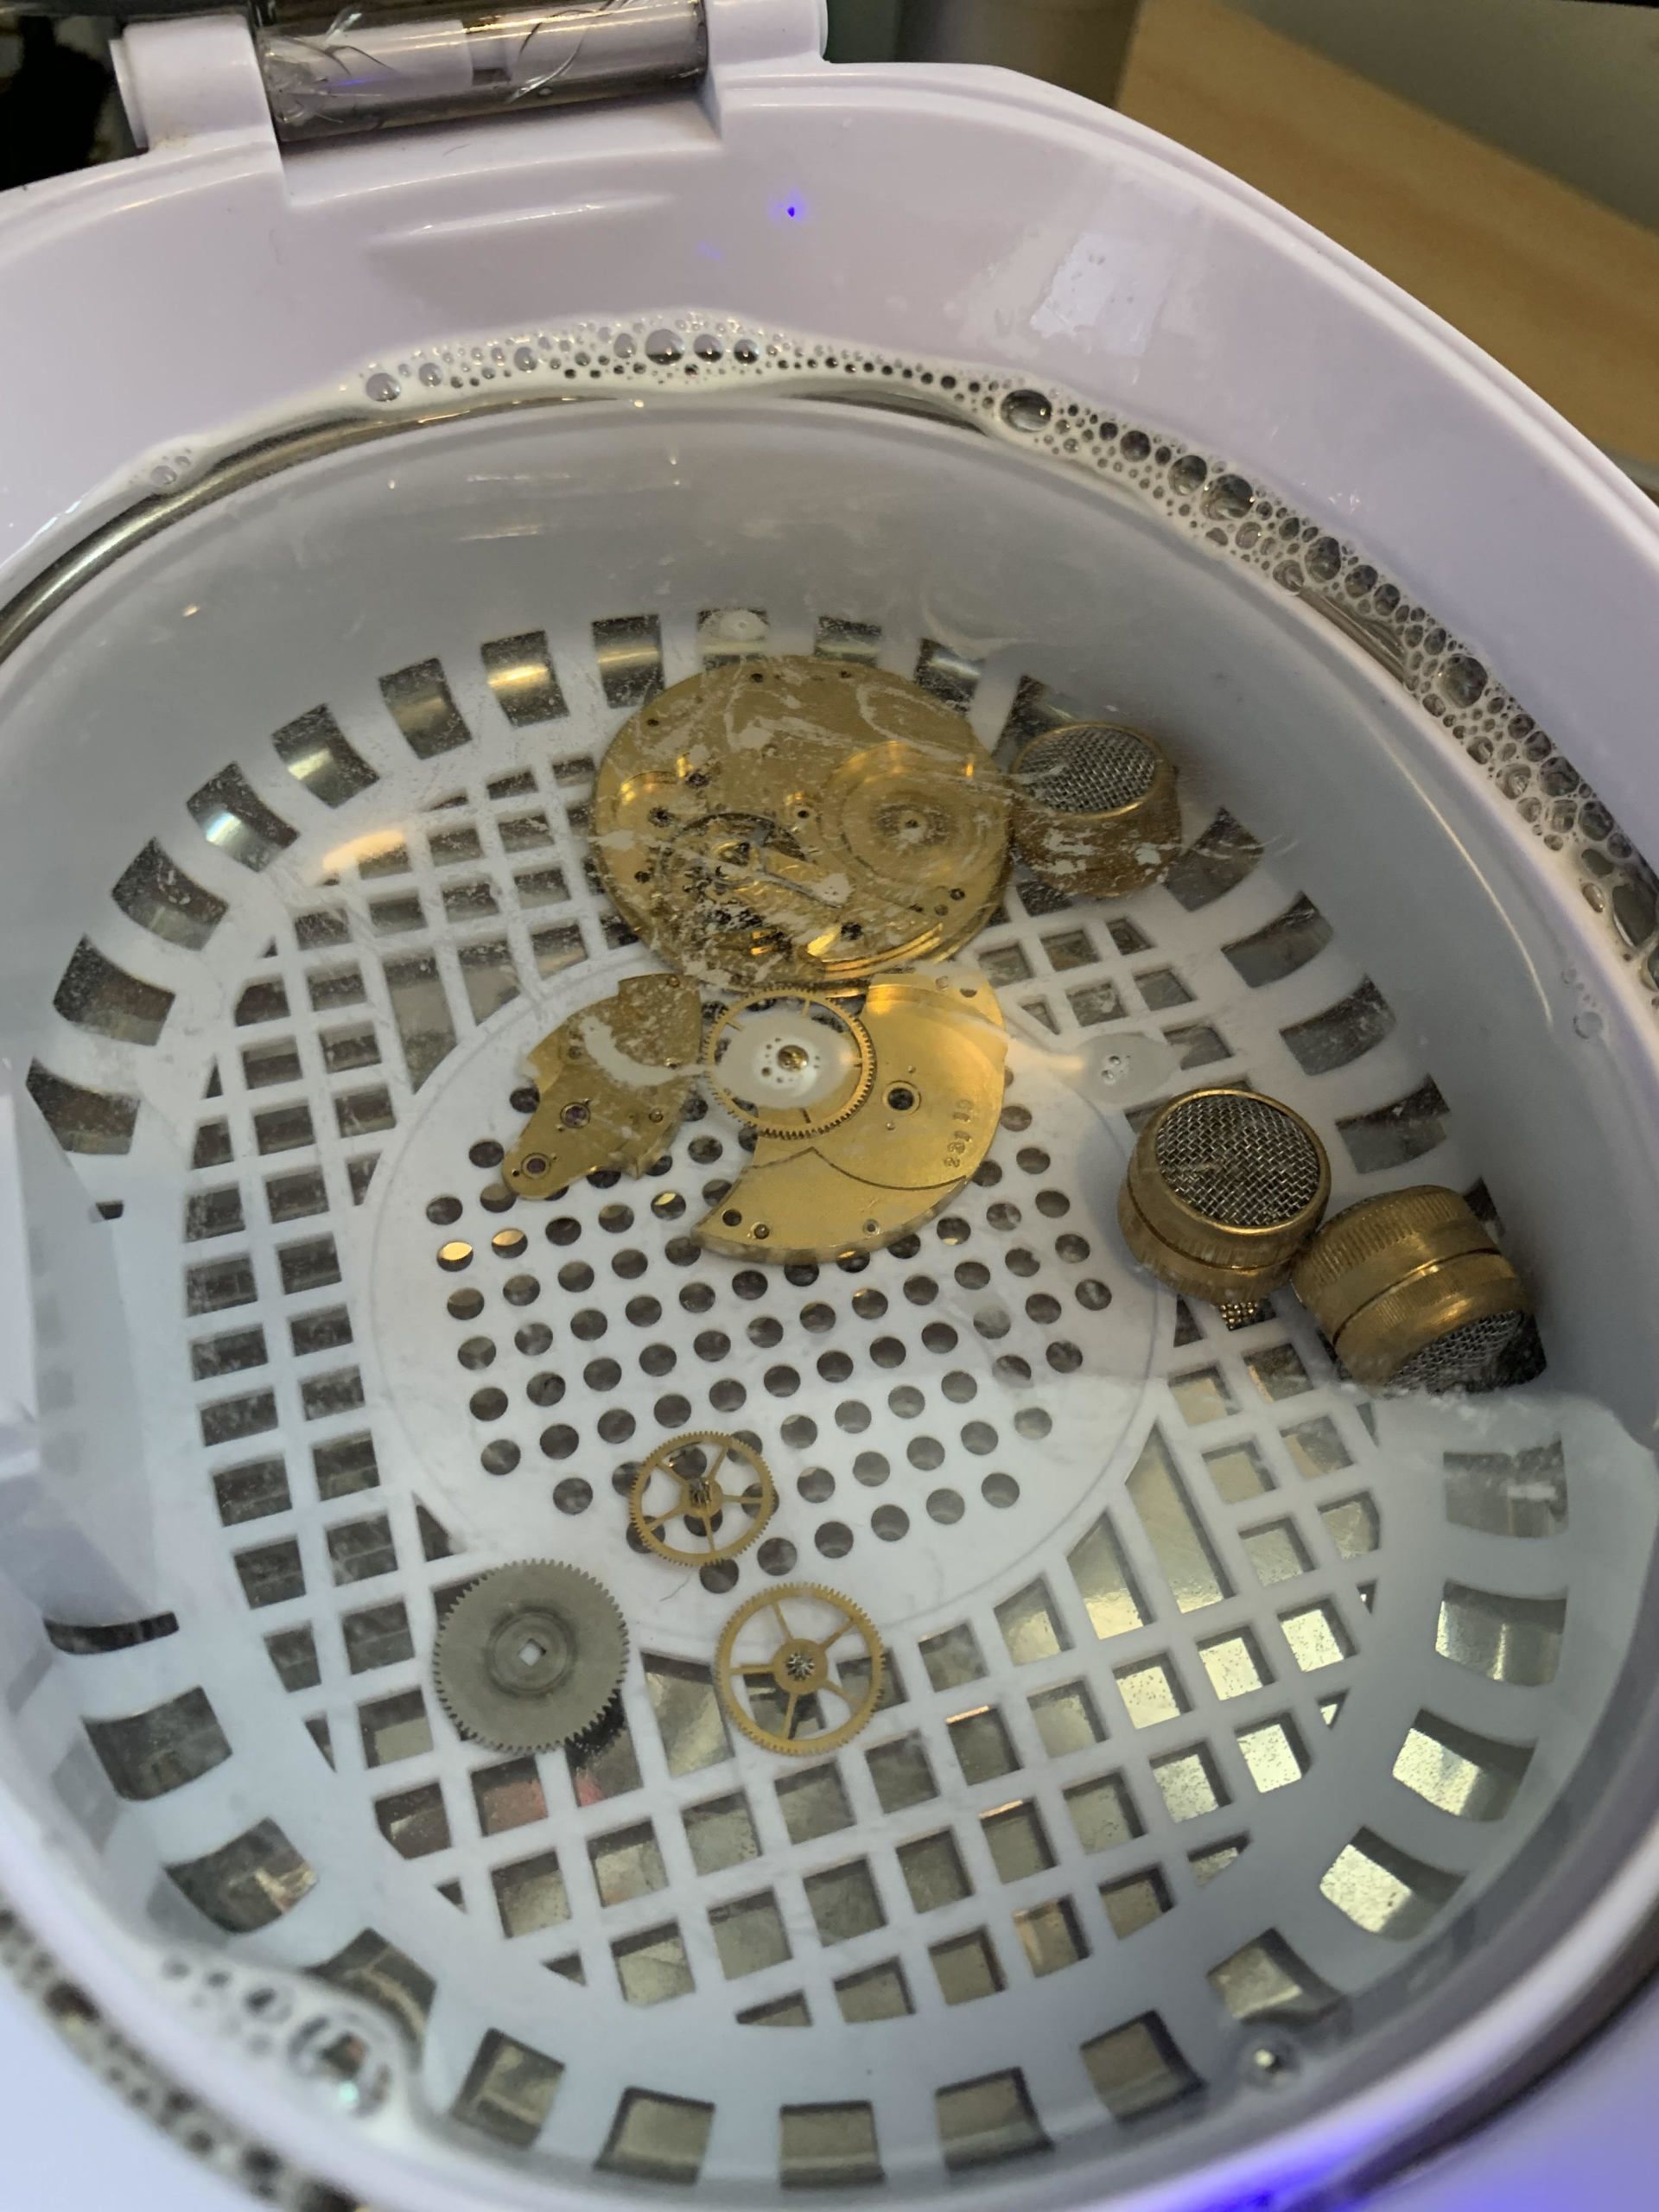
One benefit of buying a "bag of bits" is that I can skip the initial strip down of the watch. Of course, the downside here is that I really don't know if anything is missing or broken. So, the first thing to do is clean everything up and get 100 years worth of grime off of the components and then inspect everything carefully.. In particular the hairspring, gear teeth, mainspring & jewel settings..
The hairspring is by far the most sensitive watch part. This one looks very dirty but it has a good spiral shape to it, with no parts of that spiral touching other parts of it (which is a common cause of "fast running"). The Waltham spring also has a "Breguet Overcoil" design. This is a specific hairspring design invented by Abraham-Louis Breguet (important watch dude) waaaaay back in the 1700's and, essentially, allows for better performance of the hairspring through varying mainspring tensions (watches tend to slow down as a mainspring loses power and go faster when it is fully wound).
I'm going to clean this movement using my ultra-sonic cleaner and, to do that, I like to mount the balance and hairspring in the main plate to keep it safe during cleaning..
Well, my last little side-project got completed and we are still in "semi" lockdown in the UK so I thought i'd turn my attention to something else that I've been meaning to get to in the workshop.
As a watchmaker, one thing that you will certainly accumulate in time is PARTS. They come from watches that never got repaired, over-ordering when you only need one of something and a seller will only sell you 10 and, frankly.....Well, I don't know where many of them come from... but come they do. Here's a sneaky peak at ONE of my many "parts drawers"..
As a watchmaker, one thing that you will certainly accumulate in time is PARTS. They come from watches that never got repaired, over-ordering when you only need one of something and a seller will only sell you 10 and, frankly.....Well, I don't know where many of them come from... but come they do. Here's a sneaky peak at ONE of my many "parts drawers"..
In the final part of this blog series, we'll complete the watch restoration by casing the watch, re-checking the performance of the movement and putting a strap on.
Casing the movement can be tricky and normally does not go according to plan first time out. A few things to watch out for here include, movement rings not fitting snugly into the case (so the watch moves around inside its case which is not good), hands touching the inside of the glass (this will stop the watch), automatic rotors touching the inside of the case back (so the watch doesn't wind properly) and winding stems to aligning properly.
Casing the movement can be tricky and normally does not go according to plan first time out. A few things to watch out for here include, movement rings not fitting snugly into the case (so the watch moves around inside its case which is not good), hands touching the inside of the glass (this will stop the watch), automatic rotors touching the inside of the case back (so the watch doesn't wind properly) and winding stems to aligning properly.